In this post we try to understand how layout columns and rows work in flutter.
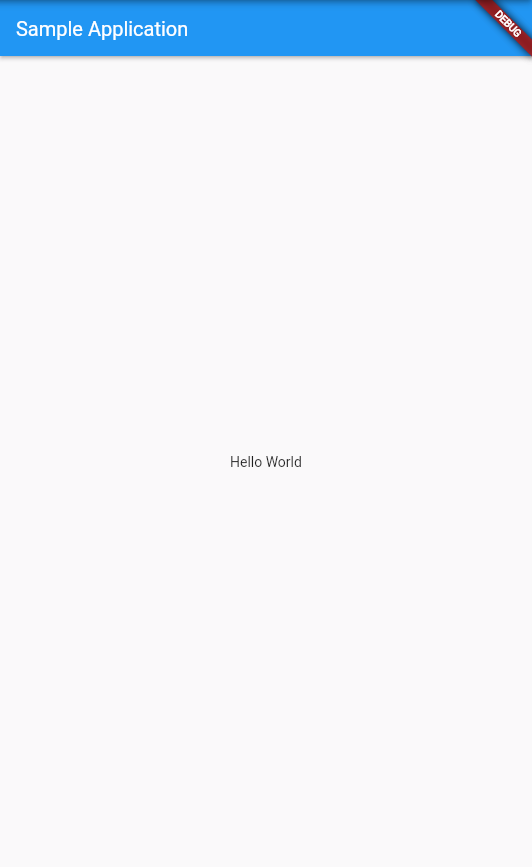
We begin with the following “Hello World” example:
import 'package:flutter/material.dart';

void main() => runApp(MaterialApp(
  home: SampleApp()
));

class SampleApp extends StatelessWidget {
  @override
  Widget build(BuildContext context) {
    return Scaffold(
        appBar: AppBar(
          title: const Text('Sample Application'),
        ),
        body: const Center(
          child: Text('Hello World'),
        ),
    );
  }
}
If we execute this code ( for example in https://dartpad.dev/ ) we see the following screen:
Next we want to see how the Column widget works. The Column is a widget whose children are ordered in a column, in other world stacked upon each other.
We replace the Text widget which contains the “Hello World” text with a Column widget:
import 'package:flutter/material.dart';

void main() => runApp(MaterialApp(
  home: SampleApp()
));

class SampleApp extends StatelessWidget {
  @override
  Widget build(BuildContext context) {
    return Scaffold(
        appBar: AppBar(
          title: const Text('Sample Application'),
        ),
        body: Center(
          child: Column(
            children: [
              ElevatedButton(
                onPressed: () {},
                child: const Text(
                  'Button 1',
                  style: TextStyle(fontSize: 24),
                ),
              ),
            ],
          ),
        ),
    );
  }
}
The code will result in the following screen where the Text widget is replaced by a Column widget containing one child widget (a ElevatedButton):

Next we add a second child widget (another button) so that our Column widget will have two child widgets ( two buttons):
import 'package:flutter/material.dart';

void main() => runApp(MaterialApp(
  home: SampleApp()
));

class SampleApp extends StatelessWidget {
  @override
  Widget build(BuildContext context) {
    return Scaffold(
        appBar: AppBar(
          title: const Text('Sample Application'),
        ),
        body: Center(
          child: Column(
            children: [
              ElevatedButton(
                onPressed: () {},
                child: const Text(
                  'Button 1',
                  style: TextStyle(fontSize: 24),
                ),
              ),
              ElevatedButton(
                onPressed: () {},
                child: const Text(
                  'Button 2',
                  style: TextStyle(fontSize: 24),
                ),
              ),
            ],
          ),
        ),
    );
  }
}
The screen will now contain a second button. As we can see the child widgets (the buttons) are ordered vertically like a column:

Now we simply replace the Column widget with a Row widget:
import 'package:flutter/material.dart';

void main() => runApp(MaterialApp(
  home: SampleApp()
));

class SampleApp extends StatelessWidget {
  @override
  Widget build(BuildContext context) {
    return Scaffold(
        appBar: AppBar(
          title: const Text('Sample Application'),
        ),
        body: Center(
          child: Row(
            children: [
              ElevatedButton(
                onPressed: () {},
                child: const Text(
                  'Button 1',
                  style: TextStyle(fontSize: 24),
                ),
              ),
              ElevatedButton(
                onPressed: () {},
                child: const Text(
                  'Button 2',
                  style: TextStyle(fontSize: 24),
                ),
              ),
            ],
          ),
        ),
    );
  }
}
This causes the two bottons to be ordered in a row, which is what we would expect from a Row widget:
